

Hello, I’m glad you’re here!
My name is Leah Ingram, a professional journalist by training and author of 15 books. Years ago, I became suddenly frugal. You may have read my blog or book of the same name.
These days I’m writing about products and services that provide the most value for your time and money — and mine.
I want you to be a smart shopper and a real sophisticated consumer. I feel confident that this blog can help you achieve that goal. If at any time you have questions, you can contact me.


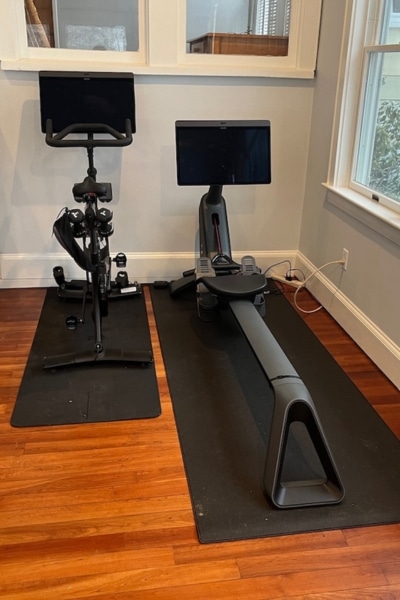
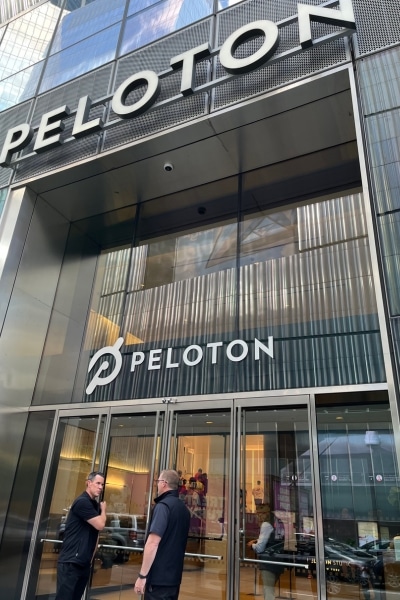


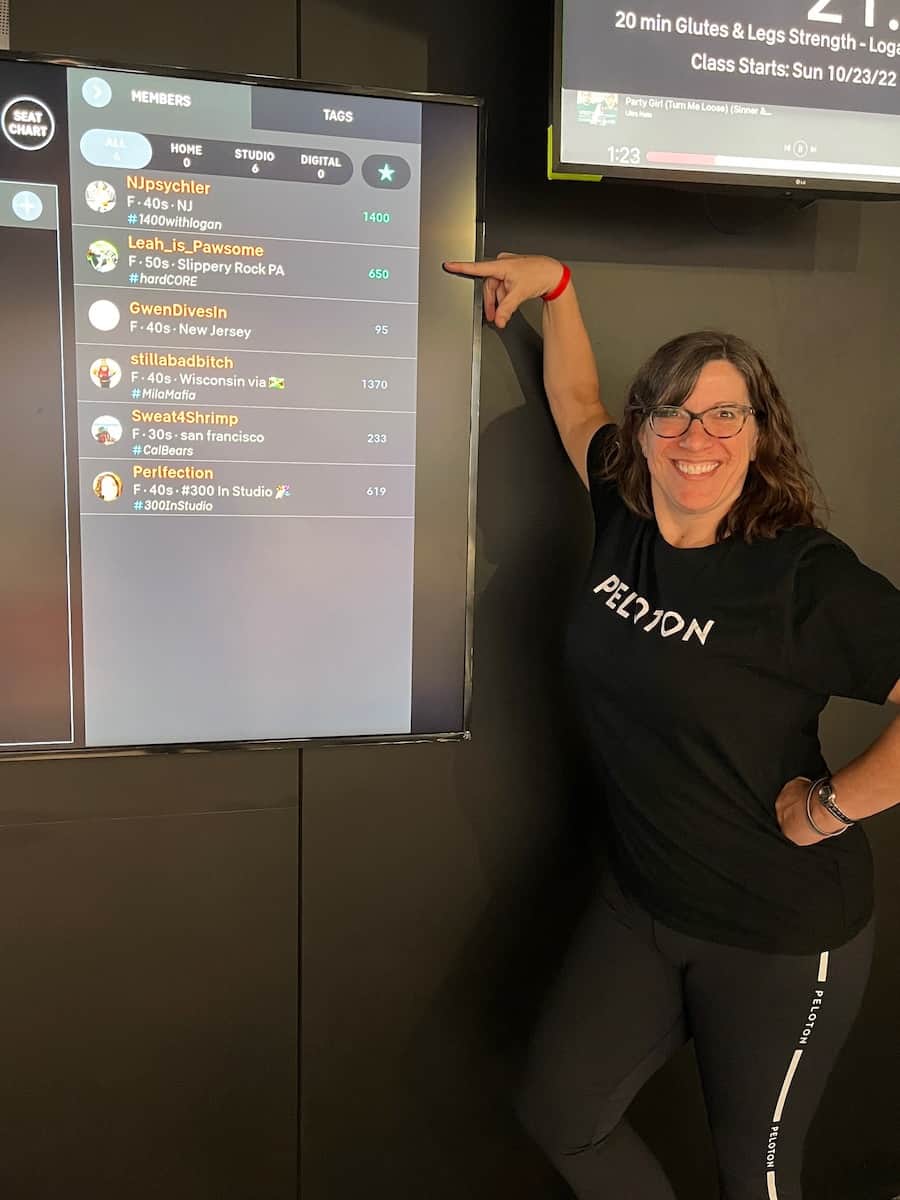
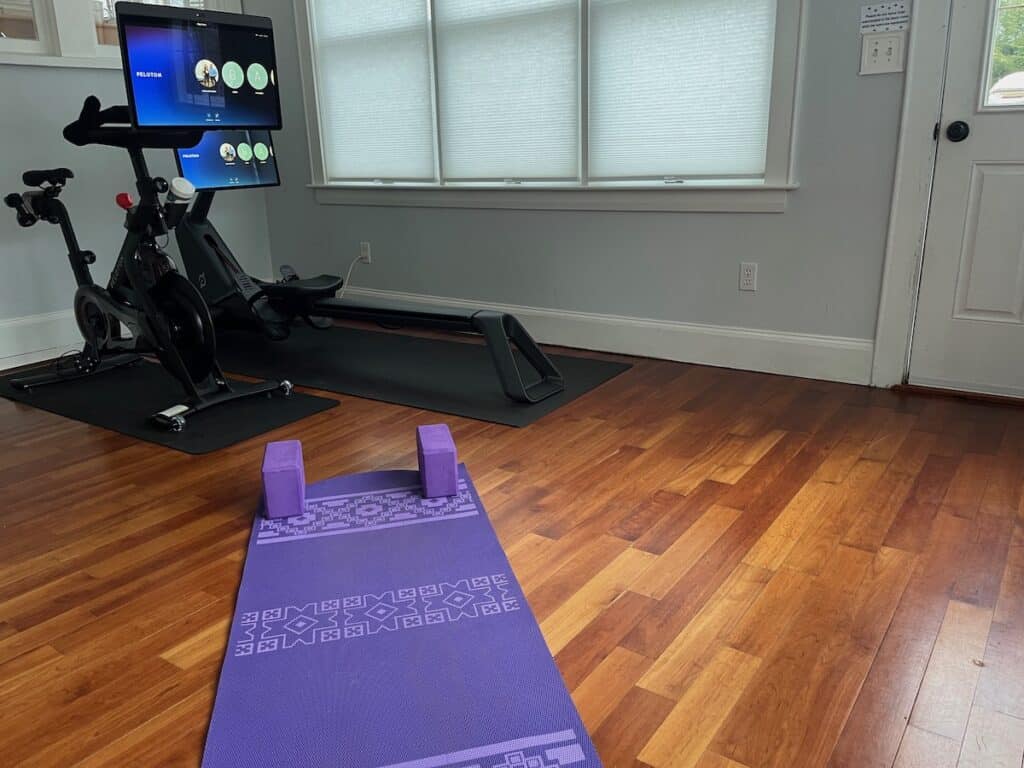
How to Book a Peloton In Person Class
- Make an account on the Peloton studio site.
- Purchase credits for the number of classes you want to take.
- Log on to book a class at the Peloton New York or London studio.
- Search the waitlist on the studio site and see if any classes are available.
- Or, visit the studio site the day Peloton releases the new schedule to book.
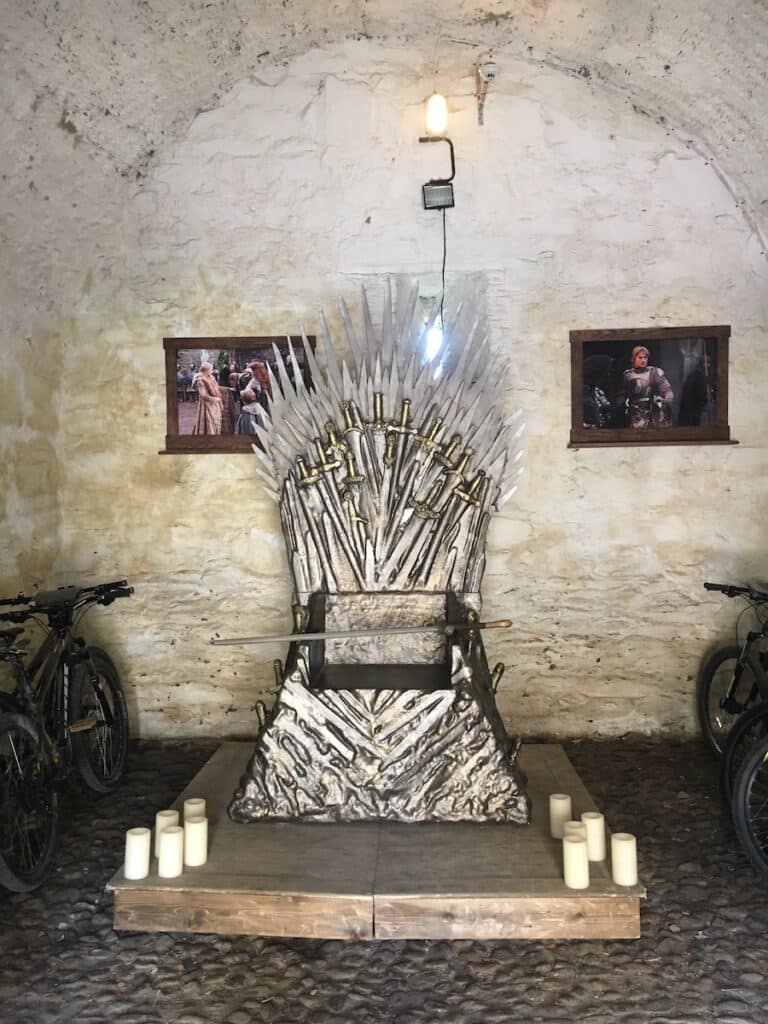


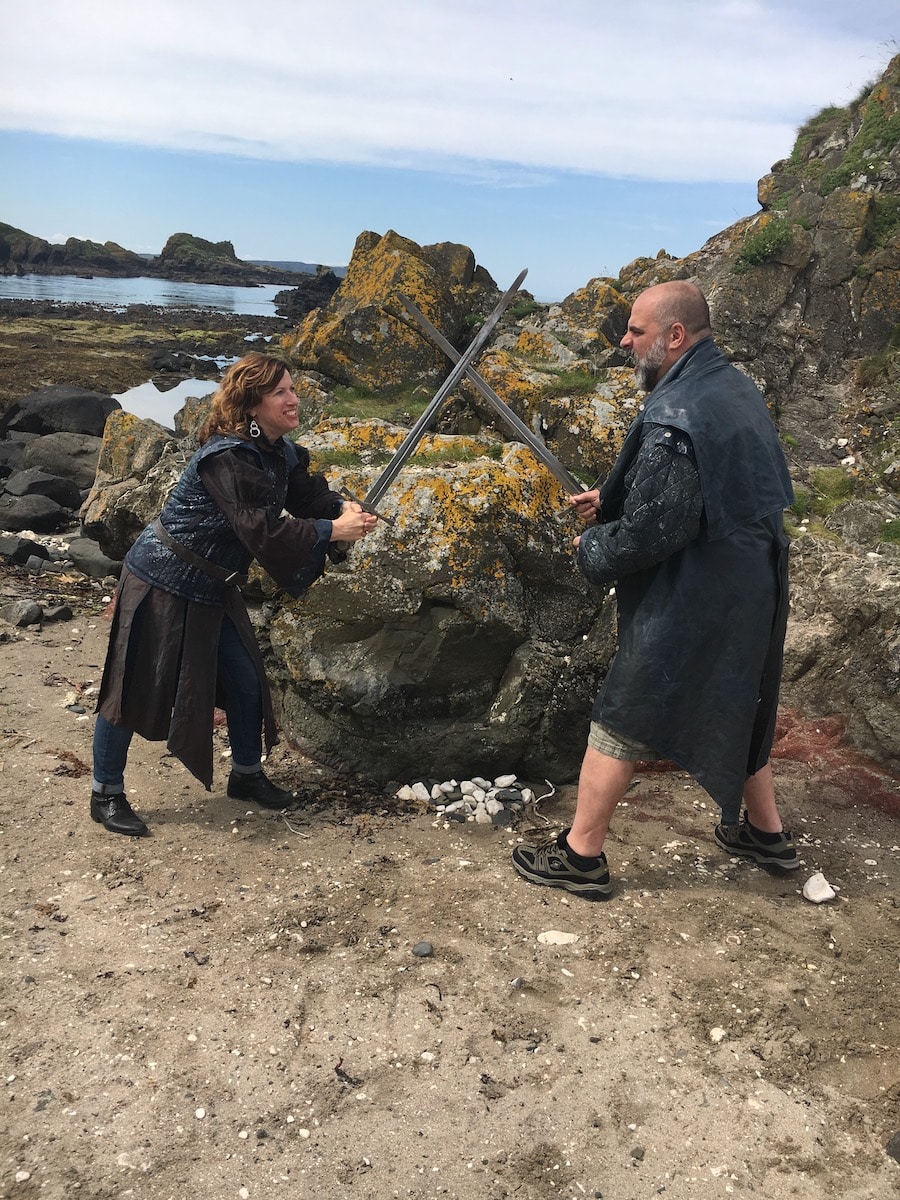
Game of Thrones Tour in Northern Ireland
A few years ago, we were in Ireland to visit our daughter who was studying in Galway. While we were thrilled to see her after so many weeks away, we were maybe equally stoked for another part of our trip.
We’d learned that much of the show Game of Thrones was filmed in Northern Ireland — they used locations in Croatia, Spain, and Iceland, too — and that we could go on a fan tour of Irish filming locations. The tours originated out of Belfast, Northern Ireland, about a day’s drive from Galway. Sign us up.
Here are a few of my favorite brands
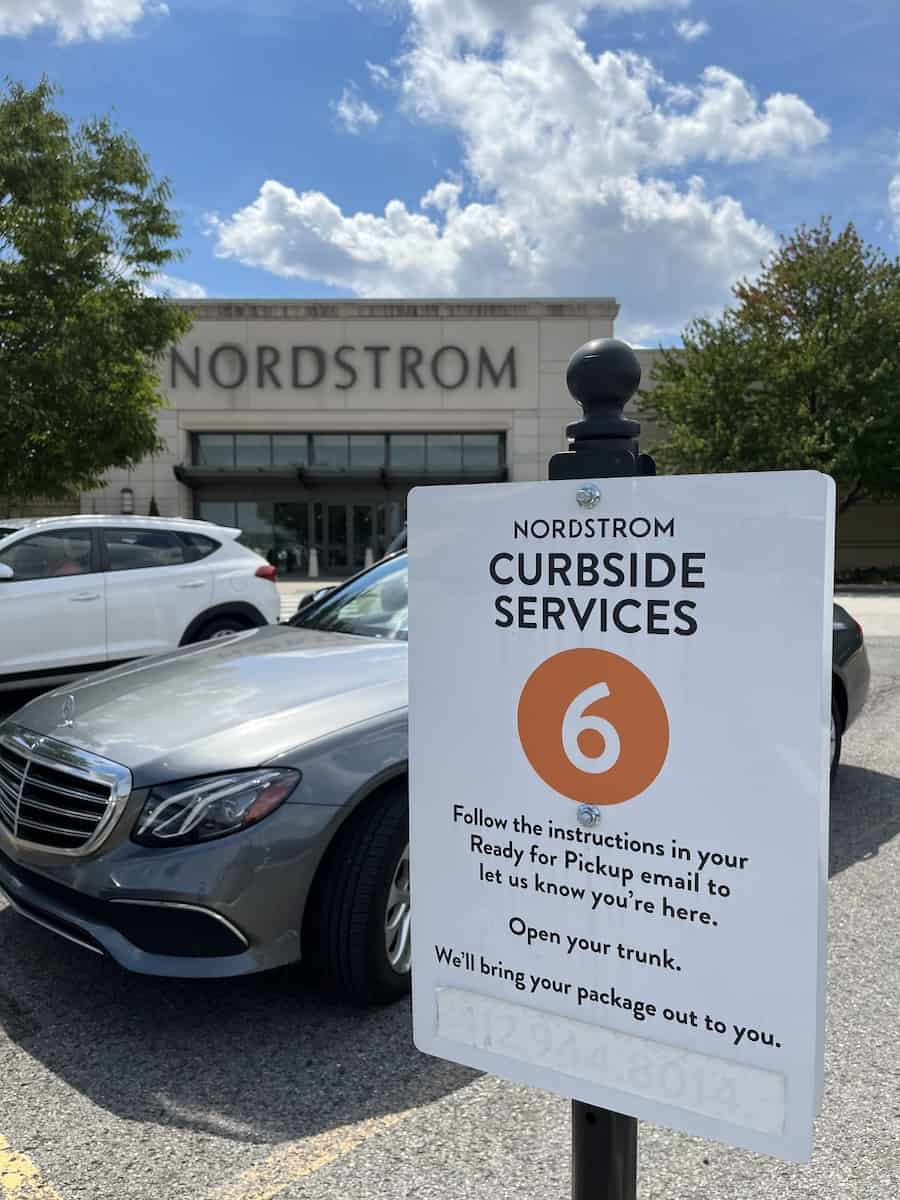
Nordstrom
You can find my secrets for shopping at Nordstrom here.
Costco
You can find my secrets for shopping at Costco here.

Target
You can find my secrets for shopping at Target here.